Hey there, fellow baking enthusiasts! Today, I’m super excited to share my absolute favorite vegan cake recipe that has literally changed the game at every family gathering. You know that moment when someone says, “This is vegan? No way!” That’s exactly what happens every time I bring this cake to a party.
I remember when I first went vegan five years ago – I was terrified I’d never enjoy a truly decadent chocolate cake again. Boy, was I wrong! After countless kitchen experiments (and yes, some memorable failures), I’ve perfected this recipe that’s not just “good for a vegan cake” but simply an amazing cake, period.
Why This Vegan Chocolate Cake Is Different
Before we dive into the recipe, let me tell you why this cake is special. It’s:
- Ultra-moist and fluffy
- Rich in chocolate flavor
- Easy to make (no weird ingredients!)
- Perfect for birthdays and celebrations
- Allergen-friendly
- Foolproof (seriously, I’ve tested this with beginners)
The Secret to Perfect Vegan Cake
Here’s something most recipes won’t tell you: the key to a perfect vegan cake isn’t just about substituting eggs and dairy. It’s about understanding the science behind baking. In traditional cakes, eggs provide structure and moisture. In this recipe, we’re using a combination of apple cider vinegar and baking soda to create the perfect rise, while plant-based milk and oil ensure moisture.
Ingredients You’ll Need:
For the Cake:
- 3 cups all-purpose flour
- 2 cups granulated sugar
- 2/3 cup unsweetened cocoa powder
- 2 teaspoons baking soda
- 1 teaspoon salt
- 2 cups plant-based milk (I prefer oat milk)
- 2/3 cup vegetable oil
- 2 tablespoons apple cider vinegar
- 2 teaspoons vanilla extract
- 1 cup hot water
For the Chocolate Frosting:
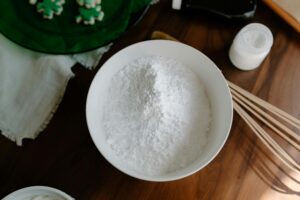
- 4 cups powdered sugar
- 1/2 cup vegan butter, softened
- 1/3 cup unsweetened cocoa powder
- 1/4 cup plant-based milk
- 1 teaspoon vanilla extract
Kitchen Equipment You’ll Need:
- Two 9-inch round cake pans
- Large mixing bowls
- Electric mixer (hand or stand)
- Measuring cups and spoons
- Parchment paper
- Cooling rack
Step-by-Step Instructions:
- Prep Work (15 minutes) First things first, preheat your oven to 350°F (175°C). Trust me, letting your oven properly preheat makes a huge difference! Line your cake pans with parchment paper and lightly grease the sides. This is your insurance policy against stuck cake disasters – don’t skip this step!
- Mix Dry Ingredients (5 minutes) In a large bowl, whisk together the flour, sugar, cocoa powder, baking soda, and salt. Make sure to break up any cocoa powder lumps – nobody wants to bite into a pocket of dry cocoa!
- Combine Wet Ingredients (5 minutes) In another bowl, combine the plant-based milk, oil, apple cider vinegar, and vanilla extract. Here’s a pro tip: the vinegar might seem weird, but it reacts with the baking soda to create the perfect texture. Science is cool, right?
- Create the Magic (10 minutes) Pour the wet ingredients into the dry ingredients and mix until just combined. Don’t overmix – this is crucial for a tender cake! Add the hot water and stir gently. Yes, the batter will be quite thin – that’s exactly what you want!
- Bake to Perfection (30-35 minutes) Divide the batter evenly between your prepared pans and bake for 30-35 minutes. You’ll know it’s done when a toothpick inserted into the center comes out clean or with just a few moist crumbs.
- Cooling Phase (1 hour) Let the cakes cool in the pans for 10 minutes, then turn them out onto a cooling rack. I know it’s tempting to rush this step, but trust me – patience is key for the perfect texture!
Making the Frosting:
While your cakes are cooling, let’s make that dreamy chocolate frosting:
- Beat the softened vegan butter until creamy.
- Gradually add powdered sugar and cocoa powder, alternating with small amounts of plant-based milk.
- Add vanilla extract and beat until smooth and fluffy.
Pro tip: If your frosting is too thick, add a tiny bit more milk. Too thin? Add more powdered sugar.
Assembly Tips:
- Make sure your cakes are completely cool before frosting.
- Place one layer on your cake plate and add a generous amount of frosting.
- Top with the second layer and frost the entire cake.
- Create decorative swirls using the back of a spoon or a spatula.
Troubleshooting Common Issues:
Cake Too Dense?
- Make sure your baking soda is fresh
- Don’t overmix the batter
- Check your oven temperature with a thermometer
Cake Sinking in the Middle?
- Don’t open the oven door while baking
- Make sure all ingredients are at room temperature
- Check that your oven is properly preheated
Storage Tips:
This cake stays fresh at room temperature for up to 3 days when stored in an airtight container. You can also refrigerate it for up to a week, but let it come to room temperature before serving for the best texture.
Customize It!
Feel free to get creative with this base recipe:
- Add a teaspoon of espresso powder for deeper chocolate flavor
- Switch up the frosting flavor (vanilla, peanut butter, or berry)
- Add different extracts (mint, almond, or orange)
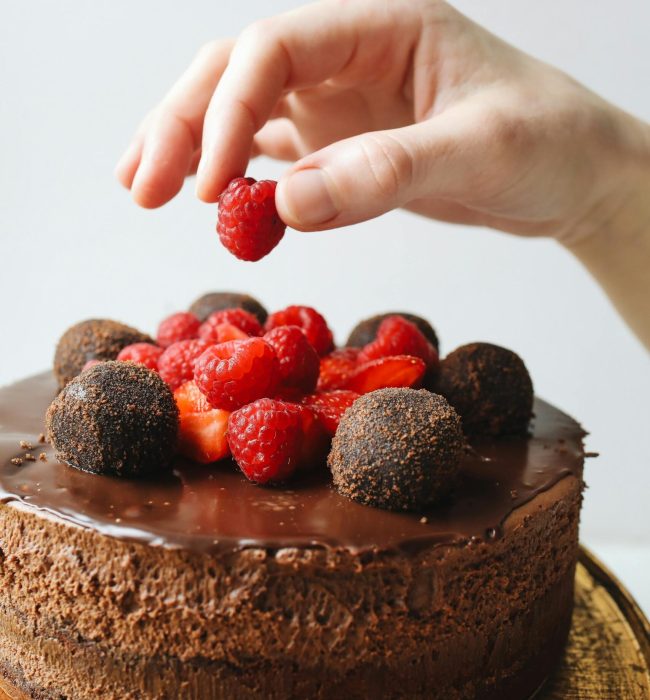
- Decorate with fresh berries or vegan chocolate shavings
Final Thoughts
This vegan chocolate cake has become my go-to recipe for every celebration. It’s proof that vegan baking doesn’t mean compromising on taste or texture. Whether you’re vegan, allergic to eggs and dairy, or simply curious about plant-based baking, this recipe won’t disappoint.
Remember, baking is part science and part love. Don’t be afraid to make this recipe your own, and most importantly, have fun with it! I’d love to hear how this recipe turns out for you – drop a comment below with your experience or any questions.
Happy baking!

